
Note: Normally I do a lot of PowerShell posts, but I like to add posts like this that I think are informative and useful to my audience.
Attack Simulation Training
Within the new Security Admin Center, Microsoft has provided a preview of the new and substantially updated Attack Simulator. This simulator is leaps and bounds better than the original one in the Security and Compliance Center. As of now, there still is no PowerShell for the Attack Simulator. However, Role Groups in the Security and Compliance Center are available to be assigned either via the SCC or with PowerShell. In this section we will provide a high level view of the new Attack Simulator.
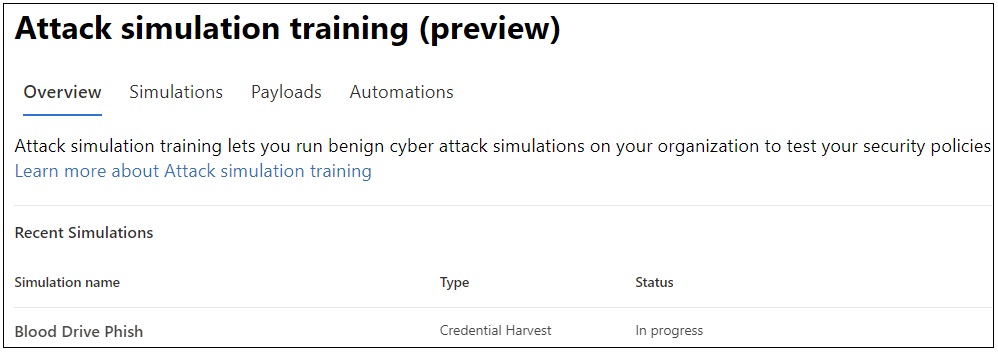
Browsing to https://Security.Microsoft.Com, login and we can see the presence of the new Attack simulation training option:
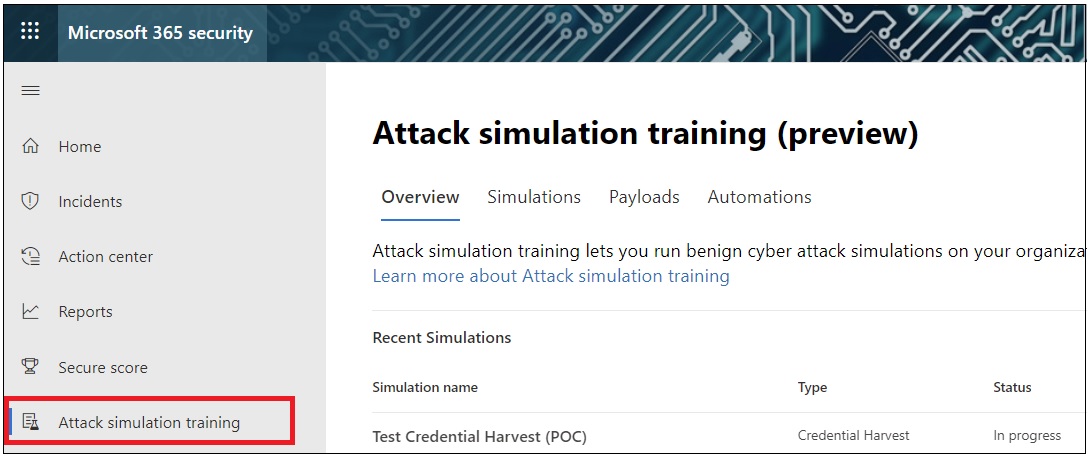
Notice that this new feature shows as Preview. This may change by the time you read this section and it may not. Either way, this is a worthwhile feature to explore. This is Microsoft’s competing product for KnowBe4’s own end user email security training. With Microsoft’s partnership with Terranova Security, the new Attack Simulation Training provides an even better value than before. Stack that on top of the fact that we can also do some customizations in our attacks/payloads means we get a better opportunity to train our users for existing threats as well as potential future threats.
Overview – Why Use It?
Why use the Attack Simulator? Using the Attack Simulator allows organizations to create training scenarios for their end users. Whether this means sending them emails with Phishing hooks, or bad links or bad attachments, we can create scenarios to educate end users. Some sample scenarios that are already pre-created are:
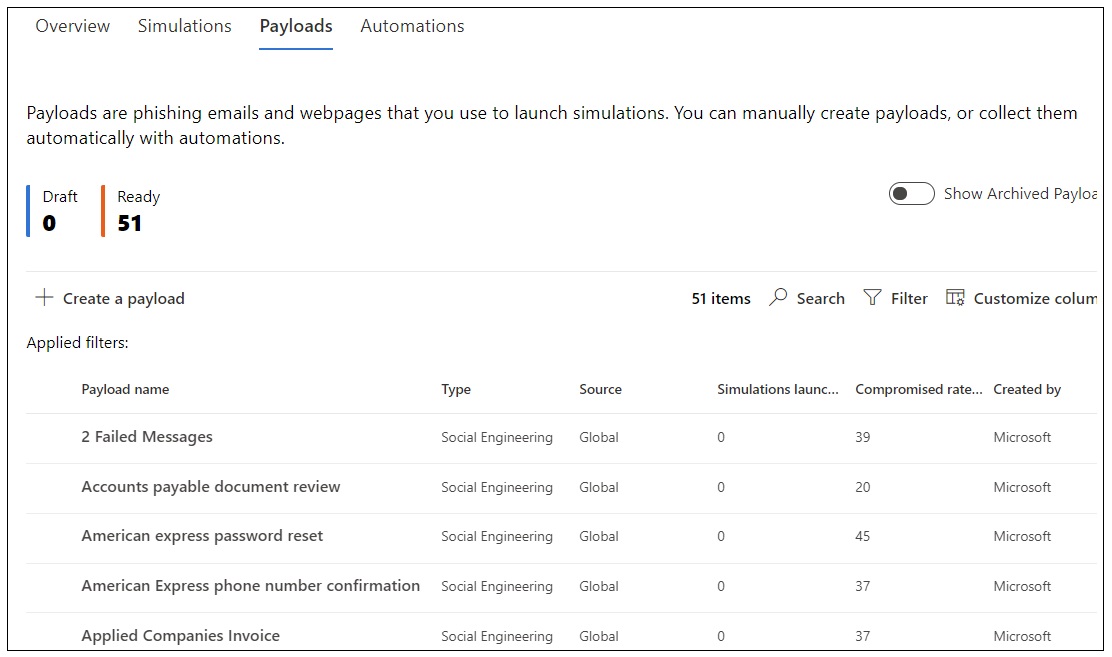
We also have quite a few pre-existing Payloads created for us as well:
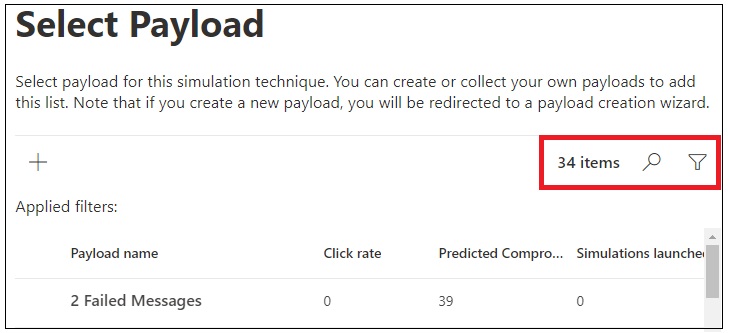
Now, not all Payloads can be used in each scenario. Only the available Payloads associated with an attack will be selectable:
Malware Attachment scenario:
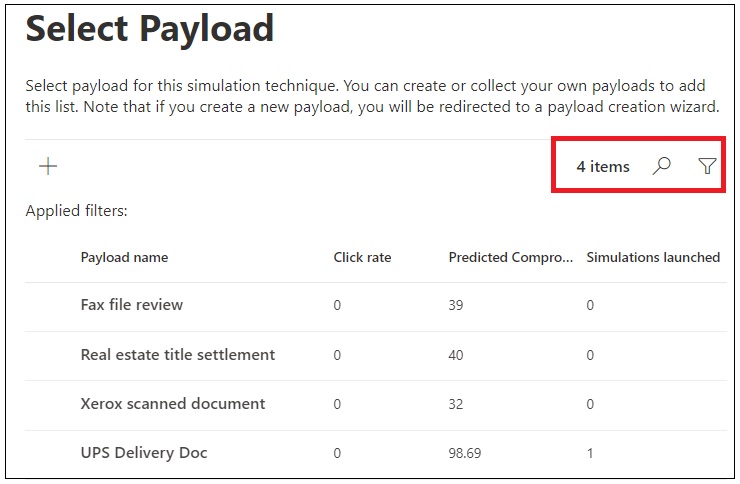
Credential Harvest
30+ potential payloads:
Custom Payloads
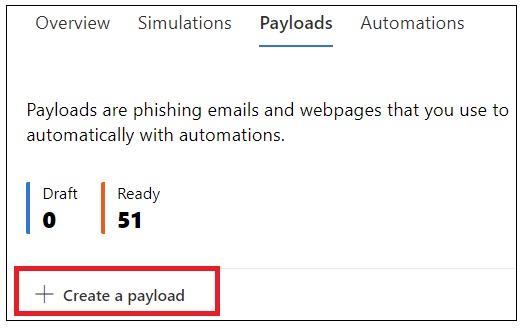
One of the neat features of the Attack Simulation Training is the built-in ability to make custom payloads, essentially allowing for us to create custom scenarios for Phishing users in an envronment. We can create these either while creating a Simulation or outside of a simulation under the Payloads tab in the Attack Simulation Training page:
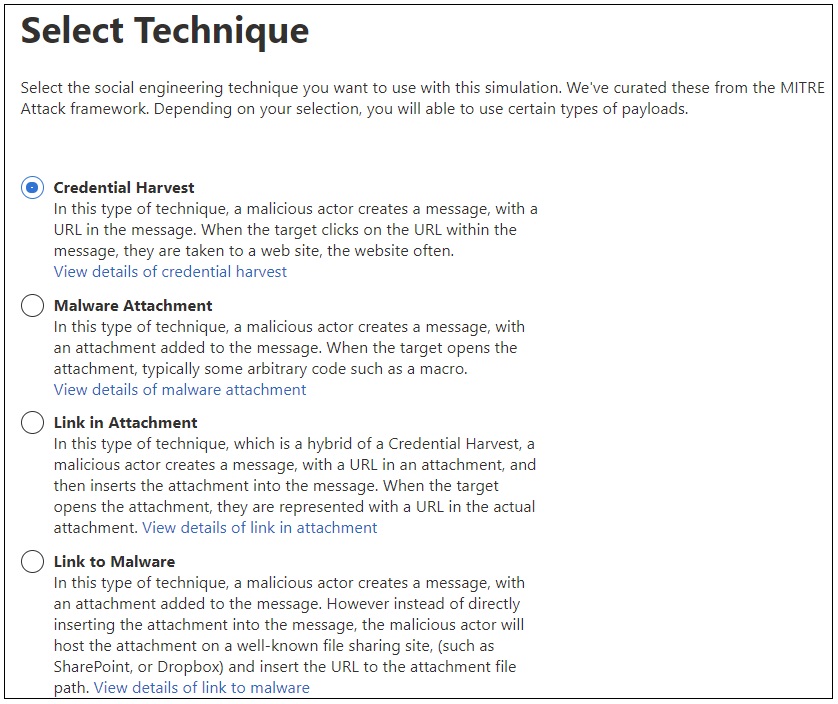
In creating a new Payload, we need to first decide which attack methodology we want to use, in this case, the default which is an Email:

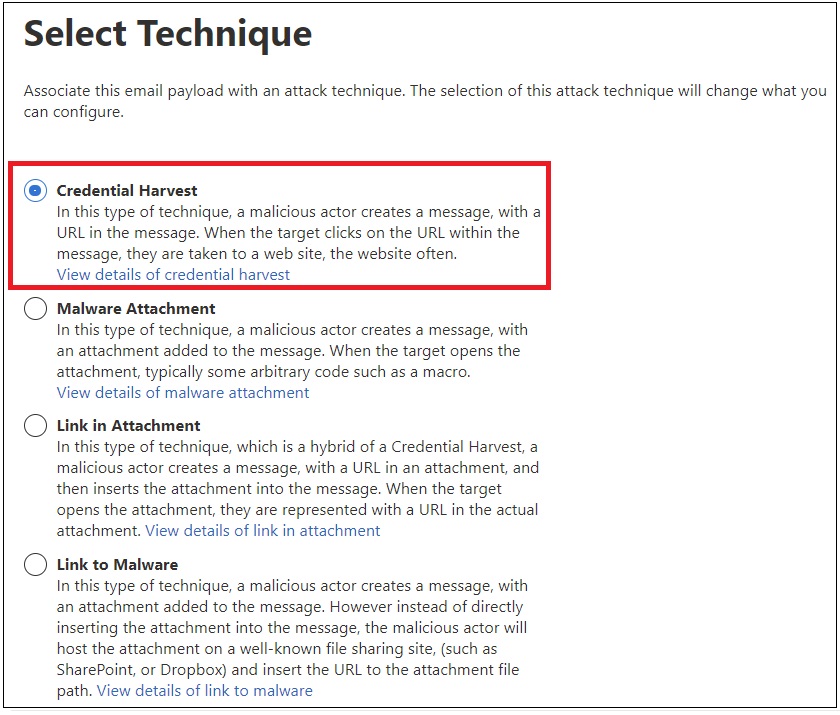
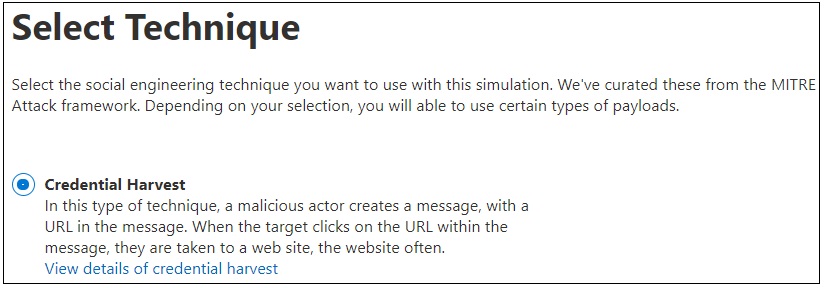
The next step is to choose an attack technique. For our example, we will choose the default technique as it provides more Payload creation options:
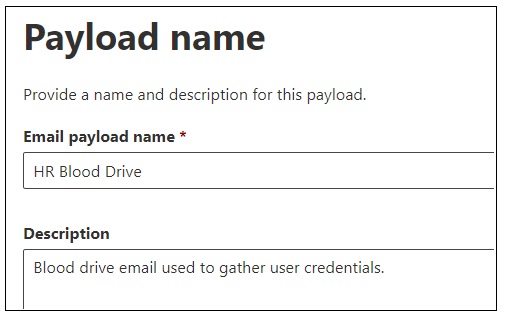
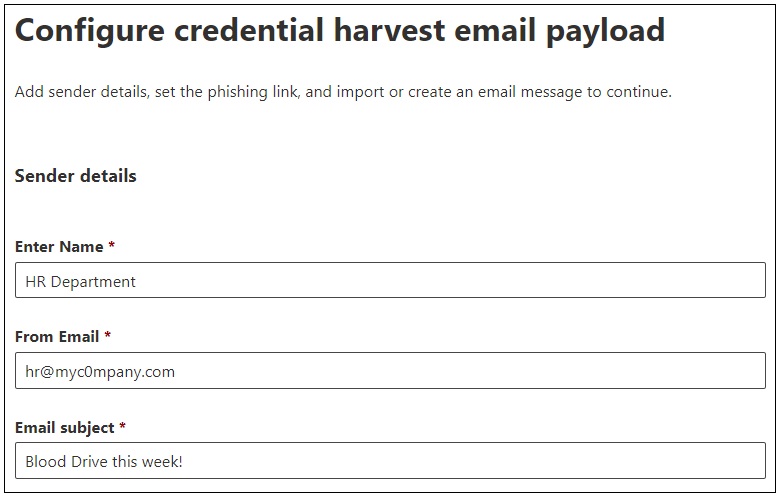
We then need to provide a Payload name and description to be used. In this Payload we can generate a potential ‘Blood Drive’ that the HR department is running:
On the next screen we need to create the email. We want this email to be believable, but also contain information that looks legit enough to be glanced over.
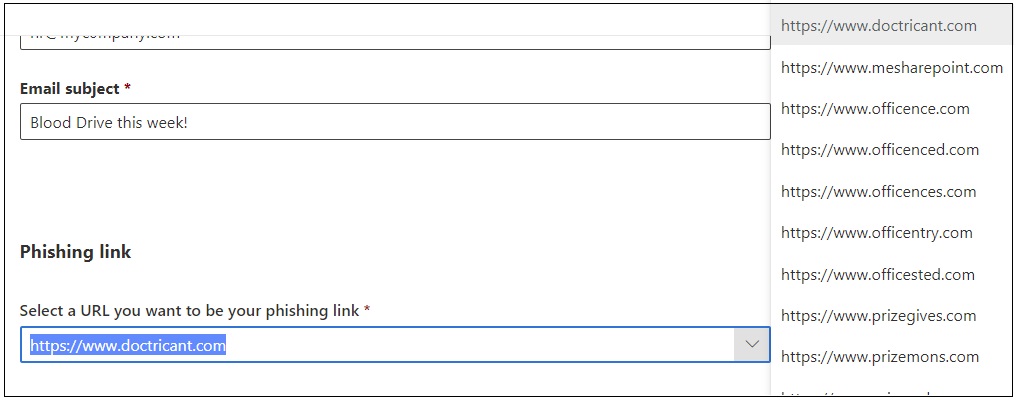
We can also then pick a Phishing link for the end user to click on. Microsoft has links to working login pages listed here:
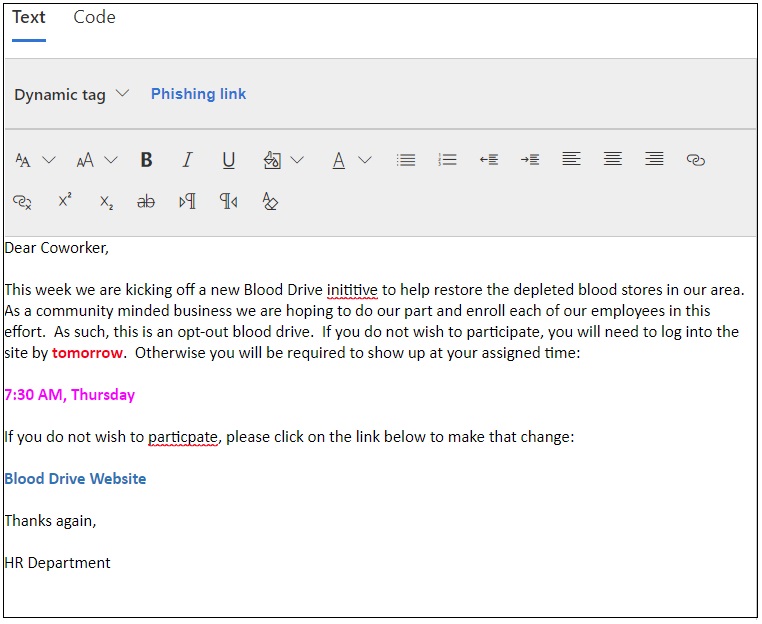
Scrolling down further, we see the place to craft our custom email. Something to keep in mind here. The email needs to be believable, but not too believable. Some visual cues should be left behind to help guide the end user.
With our email create, we need to provide the education factor of these email phishing attempts. In order to do this, we need to first assign some indicators that will point out the email’s flaws post compromise:
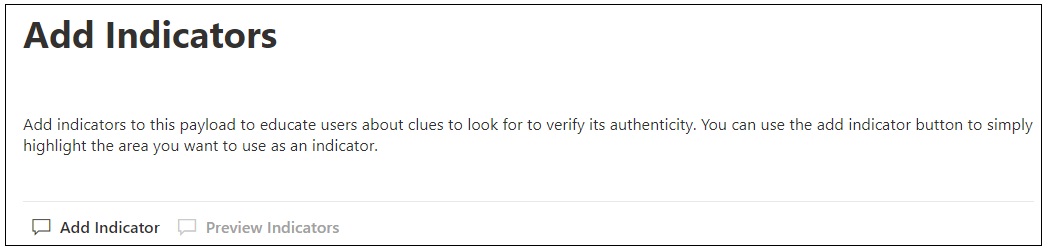
Indicator types:
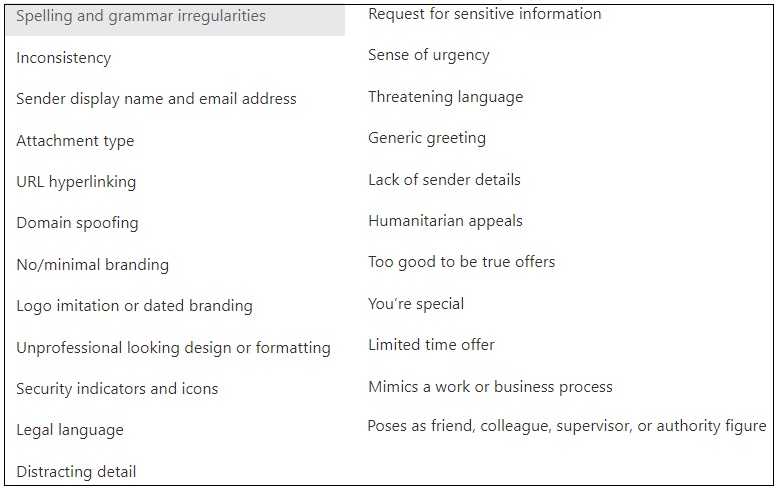
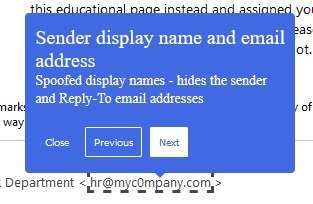
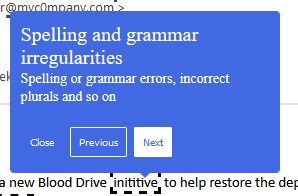
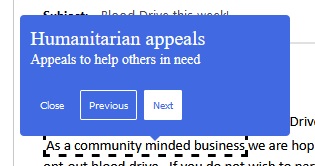
In the case of our scenario we have a few Indicators that we need to add to the email. We have a URL link, a bad sender address and misspelled words. We can even add Humanitarian appeals to the email. So how do we add the indicator? We need to pick the one we want to add and then select the position in the email where it goes:
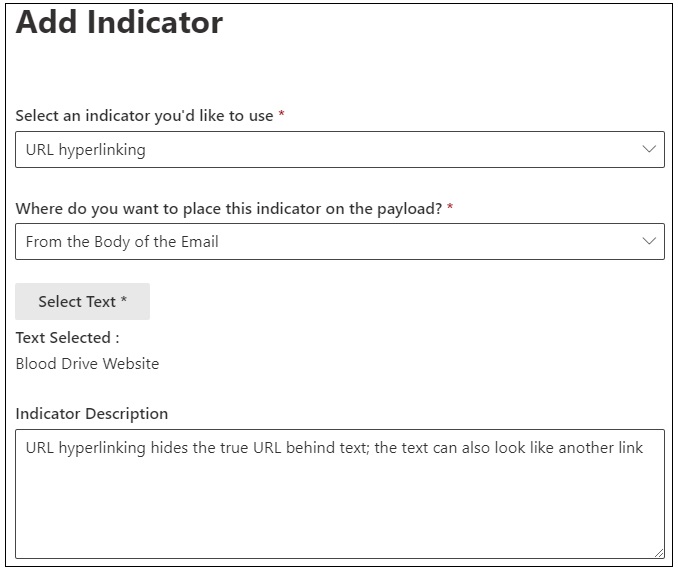
Additionally we can custom the Indicator Text (Indictor Description) as well as preview our indicator:
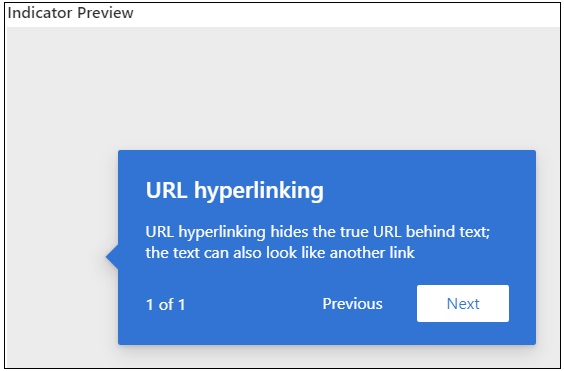
If we do not like the preview, we can make adjustments to the Indicator text to fit what we want the end user to realize. In the end we can add quite a few indicators to help the end user look for Red Flags in the emails:
Once we have all of our Indicators set, we can go to the review screen and Submit the Payload:
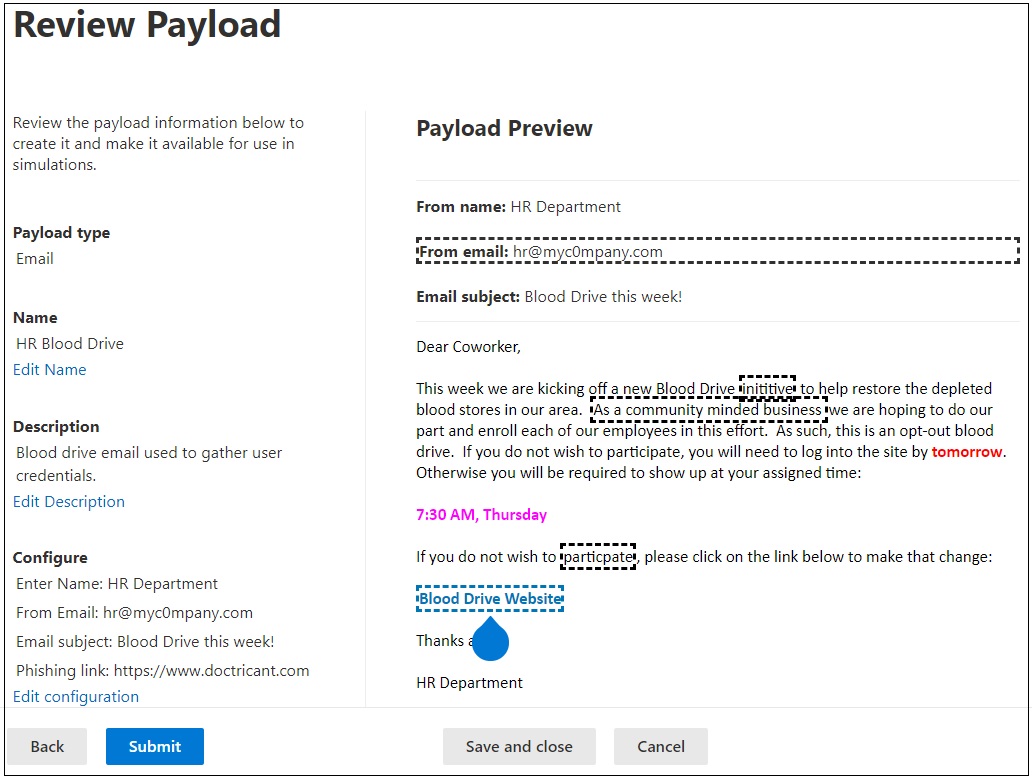
Now we have a new Payload we can use to test our users:
Create a New Simulation
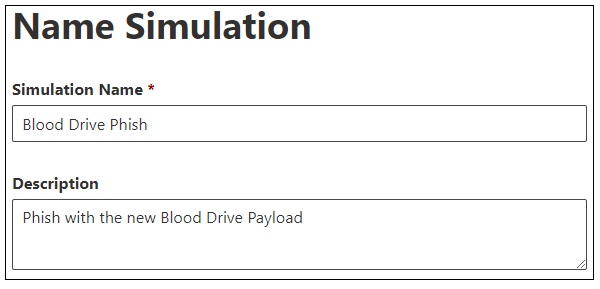
Now that we have our custom Payload we can create a new Simulation Training. For this one we will provide a name and descriptions that corresponds to the Payload we created:
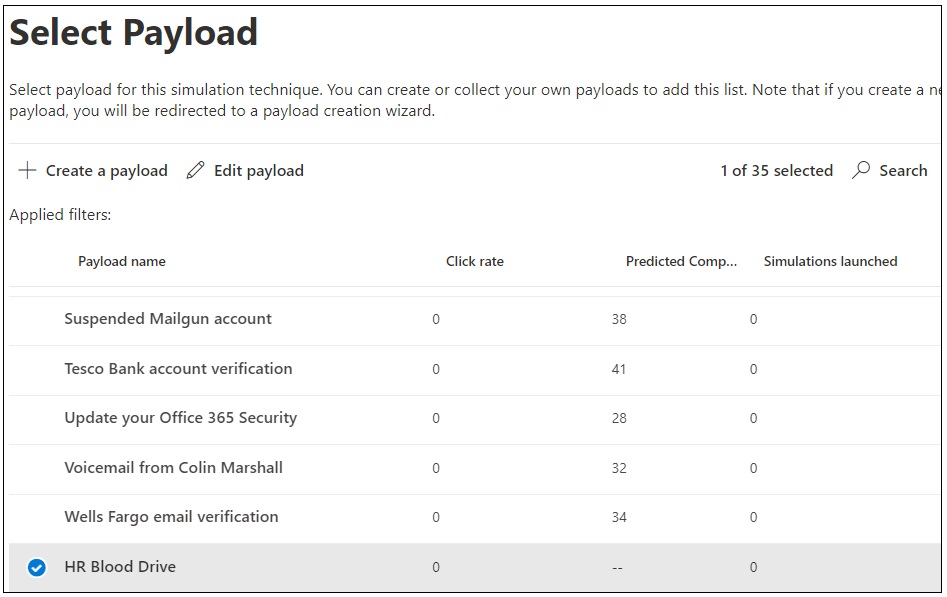
We then assign a Payload to our scenario, whether this is a pre-built Payload or a custom Payload we created for our users.
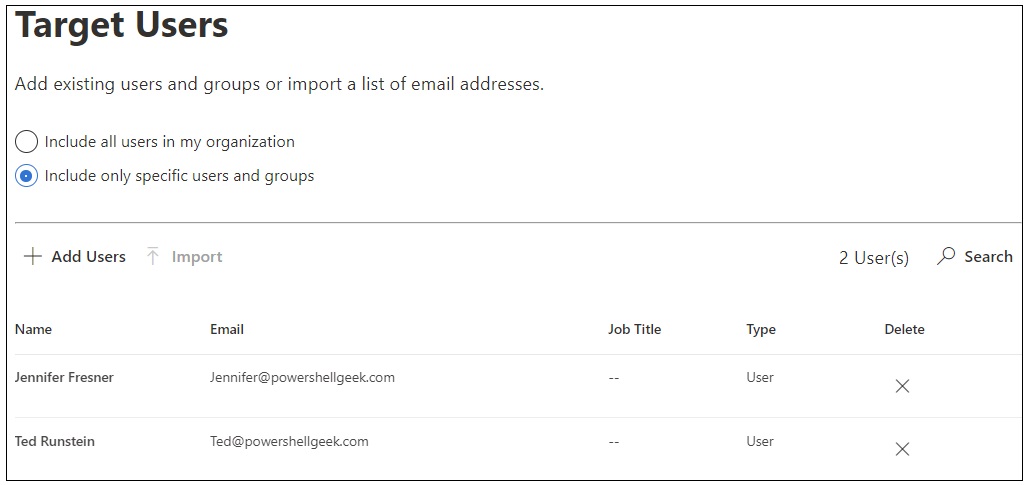
After selecting a payload, we need to chose the users to be targeted by the test. From the options available, we can choose individual users or all users in an environment.
Next, for training to be provided those who were ‘compromised’ we have some options to chose from. The defaults are a good palce to start for test scenarios as it provided the correct training, sends emails about the incident and provides training for up to 30 days after the attack simulator.

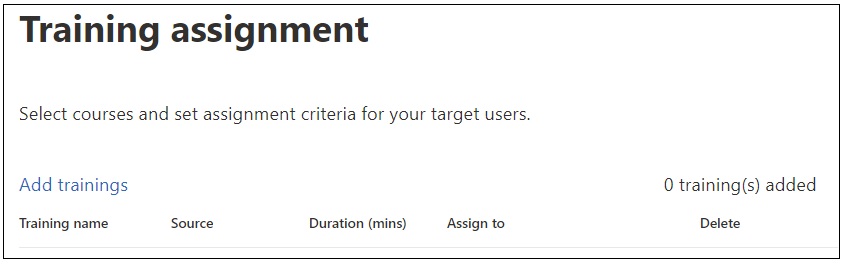
Pick custom training:
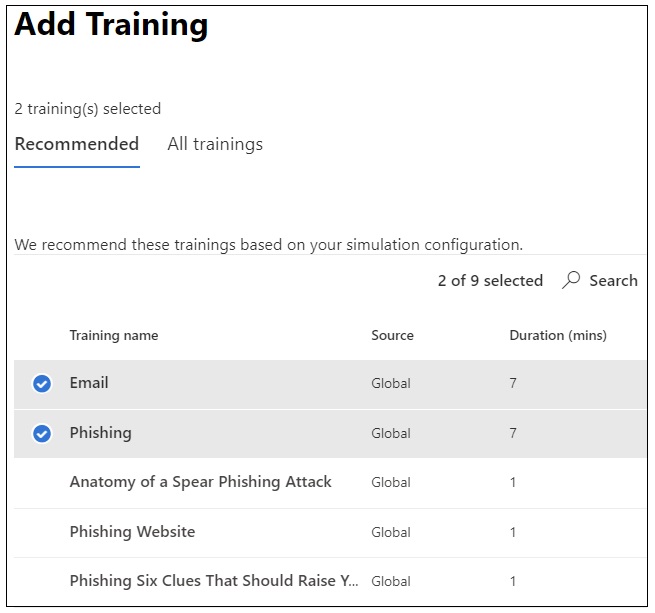
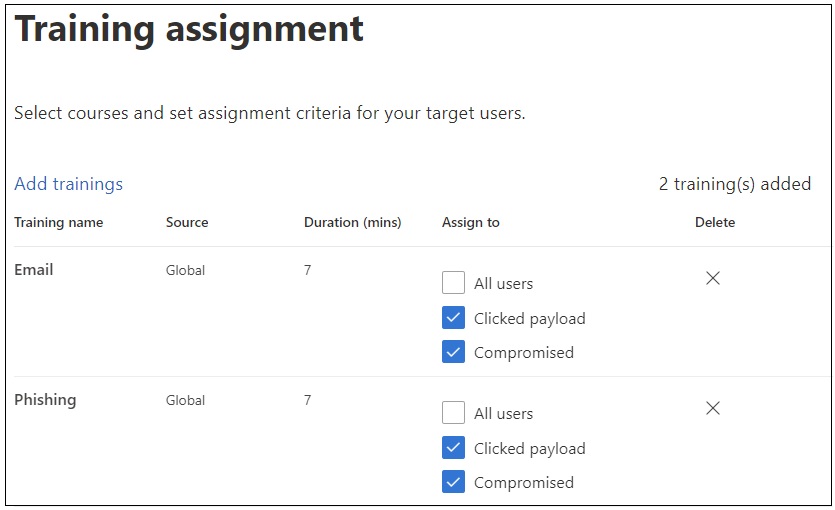
We also have an option to pick our own training, from the ‘All Trainings tab at the top, so we are not limited to Microsoft’s own recommendations. When selected, we additionally have the option to choose how they are applied to the users:
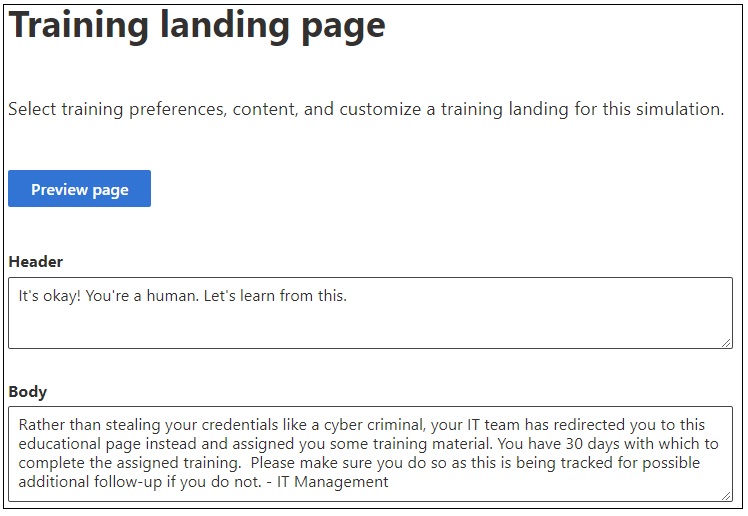
Slightly customized landing page for the end user:
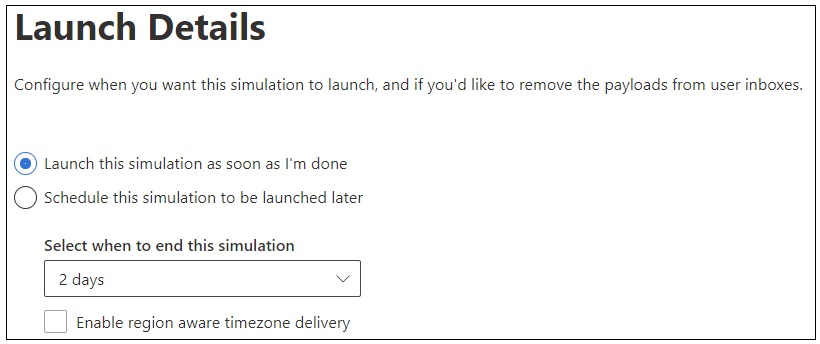
Schedule the Attack Simulation:
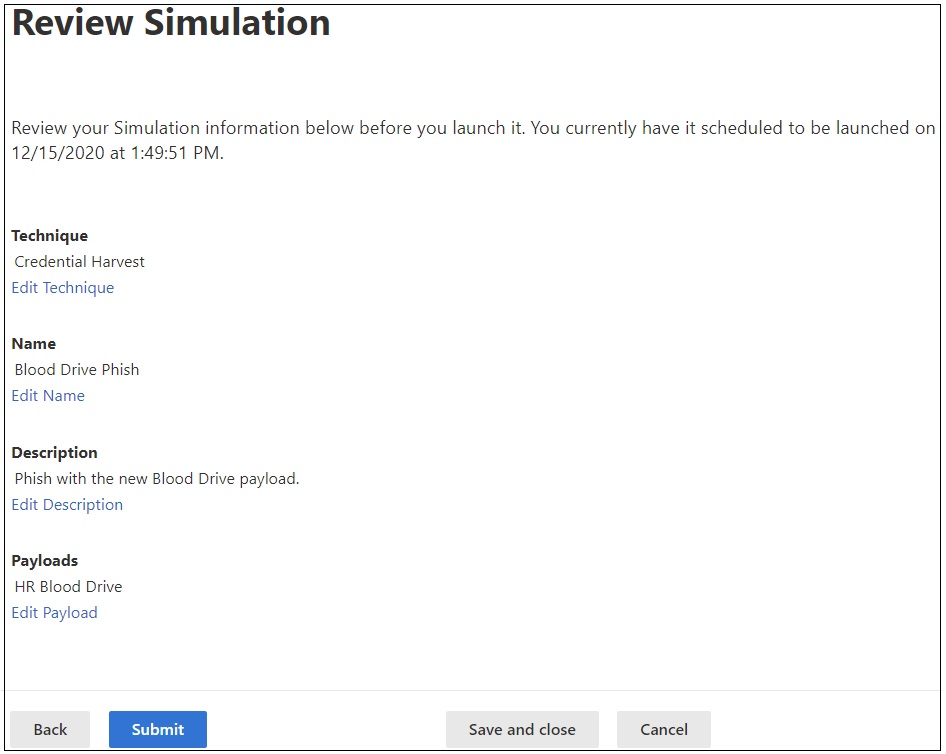
Verify settings and then click Submit.
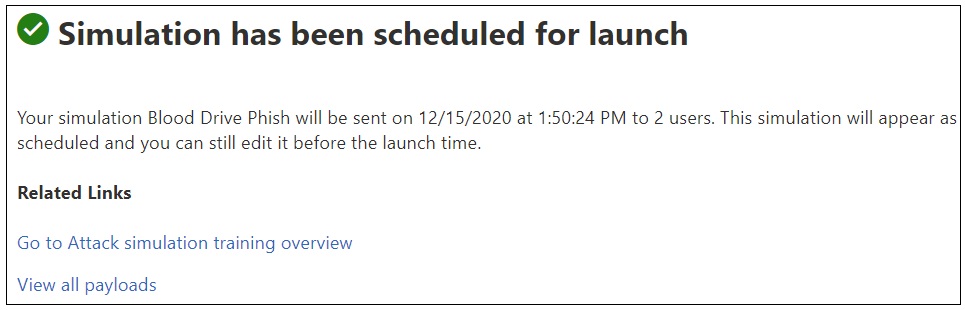
Successful submission:
End User view of our attack:
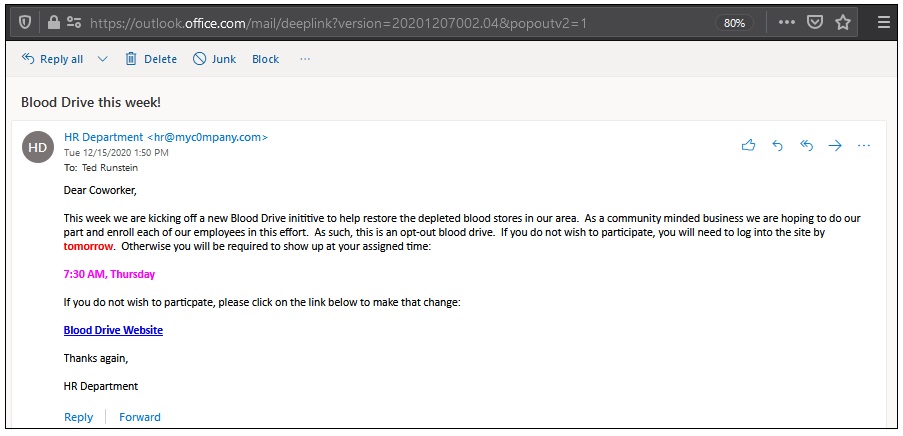
If the end user clicks on the link provided, they see a login page that looks legit. But the web link starts with – https://www.doctricant.com/nam/login?id
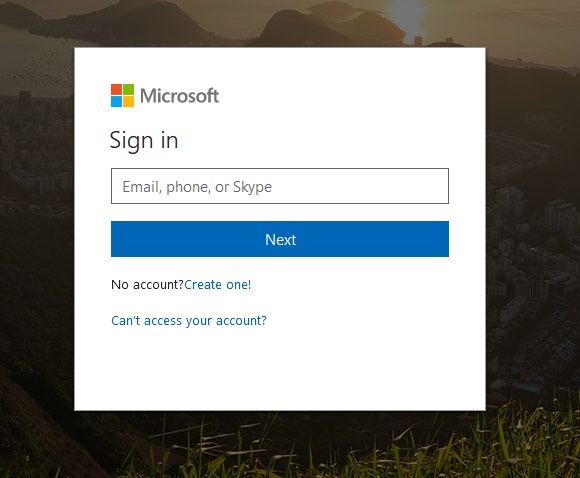
User enters their email address for ‘login’:
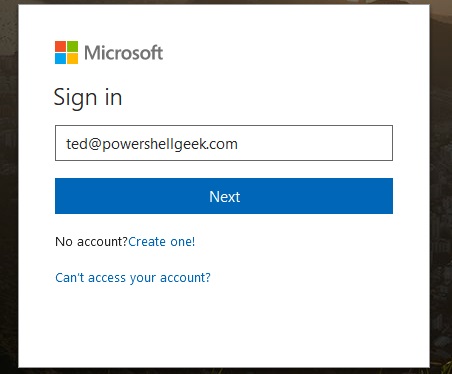
Hits next and terns credentials:
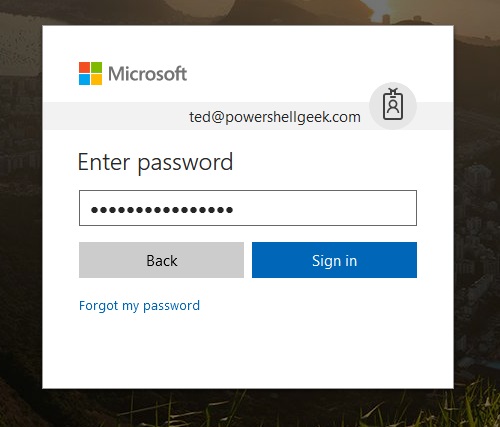
And Boom! –> You were Phished:
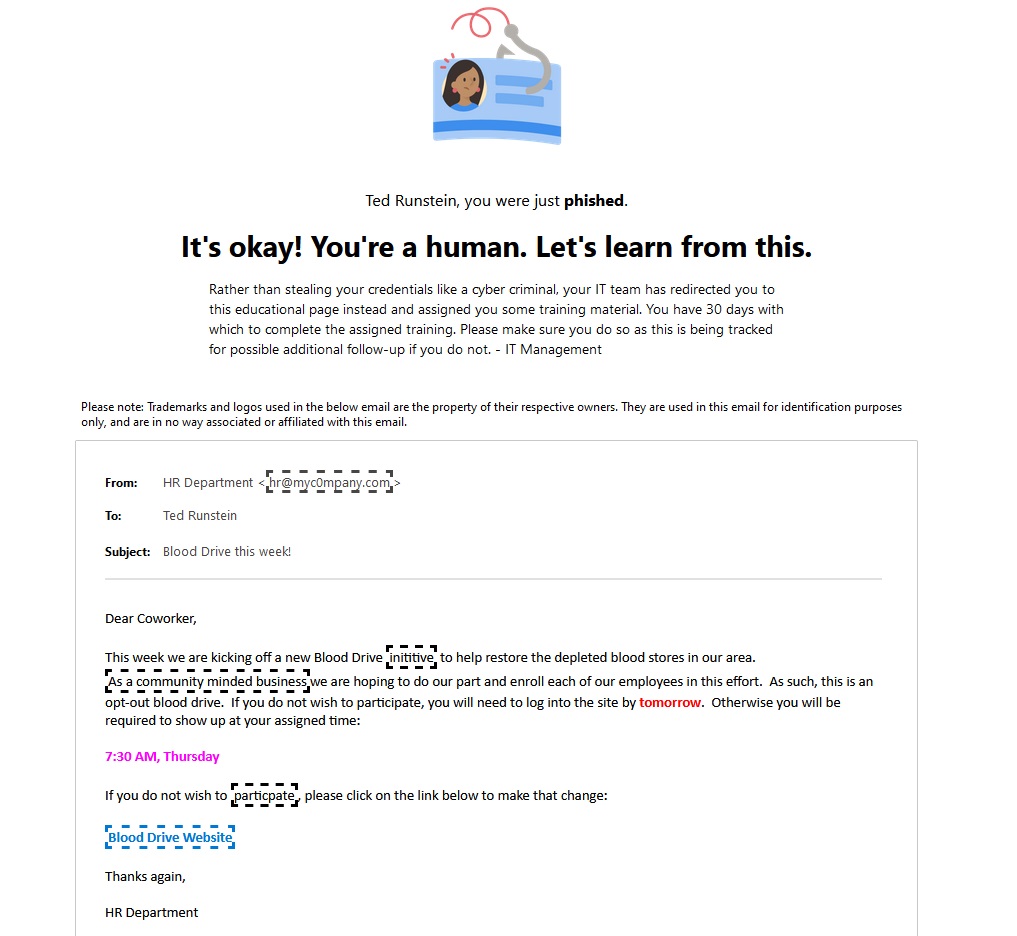
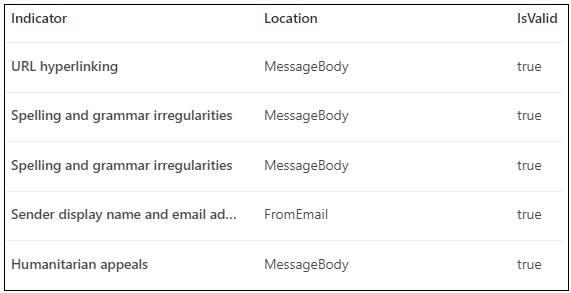
Note that we have our five Indicators, which the end user can run through:
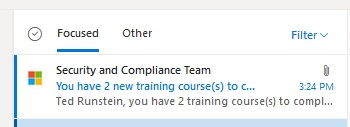
Then, in the next hour (or less), the end user will receive an email about follow-up training:
Clocking on the ‘Go To Training’ brings up a subsection of the Security Admin Center that is scoped to this user’s rights:
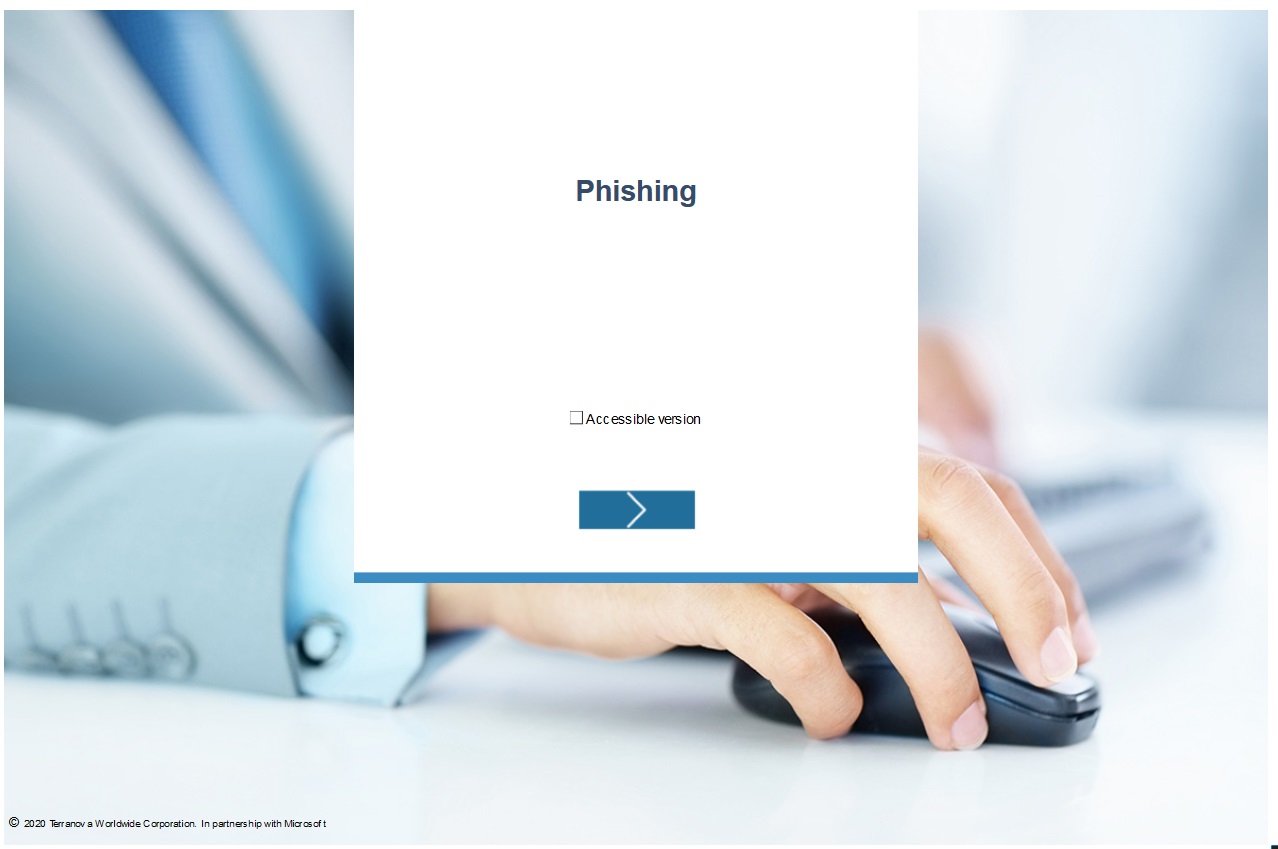
If they begin some of the training, a series of videos is displayed for them to watch and hopefully learn some new tips:
**NOTE** Training is provided by Terranova Security.
Recommended Actions
If your organization has an E5 license and is not using another provider, then this should be piloted today. Help the user population to recognize these risks is a paramount way to protect your organization. While no training is perfect and no user us perfect, this is a good place to start. If you are using another vendor and have E5, consider Microsoft’s training as it allows for a lot of customization and it is free with your E5 licensing. No extra costs or vendors to deal with.
What if All we have is an E3 License?
As of now, you are in luck. Microsoft has widened the allowable licenses for utilizing Attack Simulation Training to include tenants with E3 licenses:
https://techcommunity.microsoft.com/t5/microsoft-security-and/attack-simulation-training-public-preview-now-open-to-all-e3/ba-p/1873169
Post Simulation Attacks – Administrative Tasks
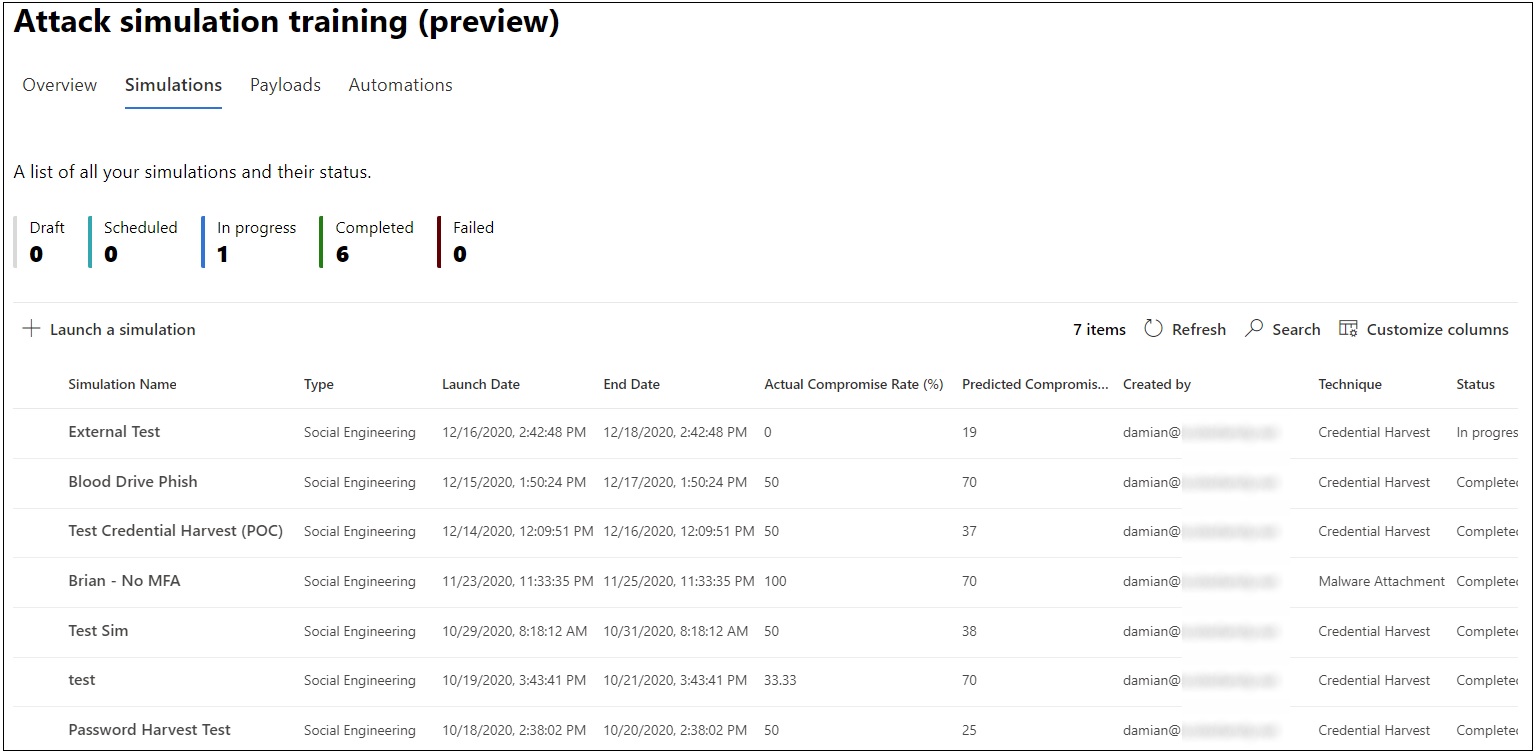
Once a simulation has gone through its run, we can review the data collected to see how our users did. If we click on the Simulations Tab, we see the simulations we have run and the results that are provided. Key is to note the ‘Actual Compromise Rate’ and ‘Predicted Compromise Rate’ columns as well as the status to see if the simulation is complete:
If we click on one of our listed simulations, we can see what has occurred:
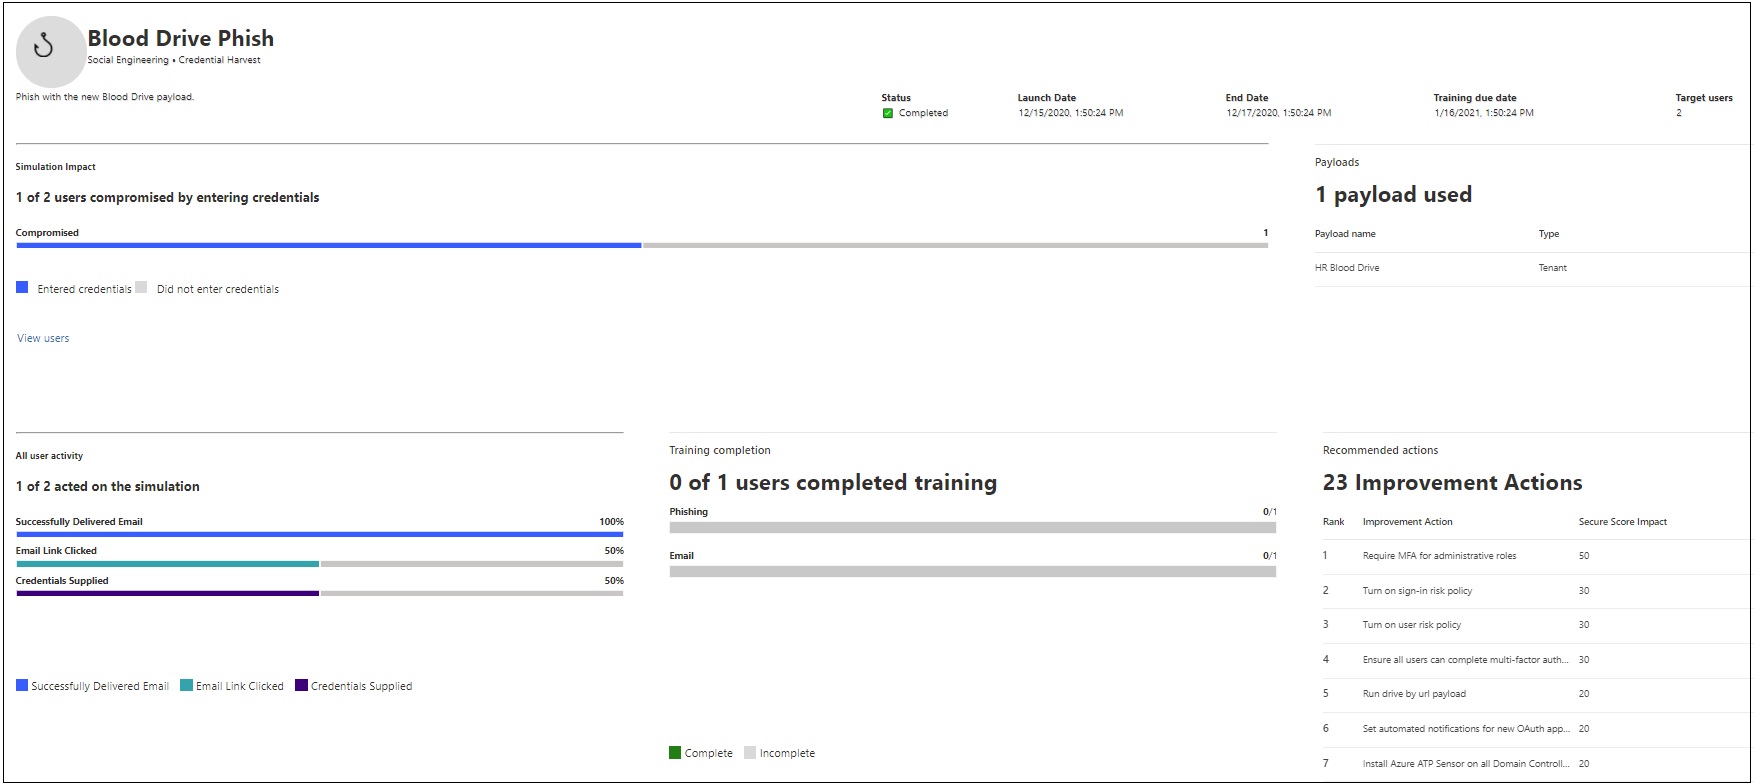
Lots of good data here. We can see how many users were compromised, who completed their training and what actions they took during the attack. Clicking on View Users allows us to dive a bit deeper into the data:

We can see if they were compromised, what trainings were assigned and if they were completed. Which is good from an audit trailer perspective.
Caveats
The only issues that may cause issues when using the Attack Simulation Training are:
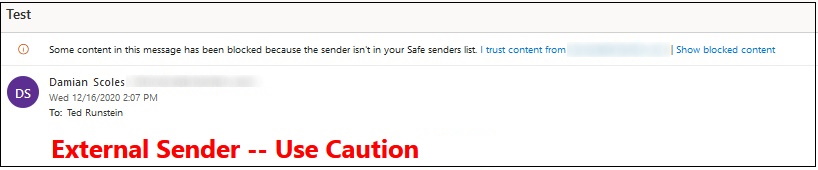
(1) If there is a transport rule that stamps external emails, the email will not be stamped. If the Phishing attempt uses an external email address, then end user will receive it and may not question it like they were trained with external email tags. Example external message (missing from Attack Sim emails):
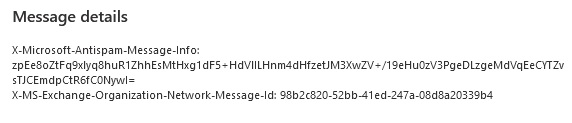
(2) Message Headers are non-existent and thus provide an email, that is not really an email:
Further Reading
I cover this topic and more topics related to email security in two books:
Security and Compliance Center PowerShell
|
Microsoft 365 Security for IT Pros
|
